The developer's guide
Creating new project
The best point to get started with Cronix library is to take a look at the Generic Sample Projects. They can be found here The following developer's guide will briefly walk througth some important topics which are worth to mention.
Configuration
Logging
By deafult, Cronix uses NLOG library for logging. To enable logging the NLOG.config file should be added to your Cronix project.
WebUI
Configuration
Cronix supports self-hosted web interface. By default it uses the 8111 port. In order to change it, add the following key in the app.config file into appSettings section
<add key="host.port" value="8080" />
If the default port value is changed, then the global variable named "connectionUrl" in the webui/index.html file must also be changed.
<!-- GLOBAL CONFIGURATION -->
<script type="text/javascript">
var connectionUrl = "http://localhost:8111/signalr";
</script>
Overview
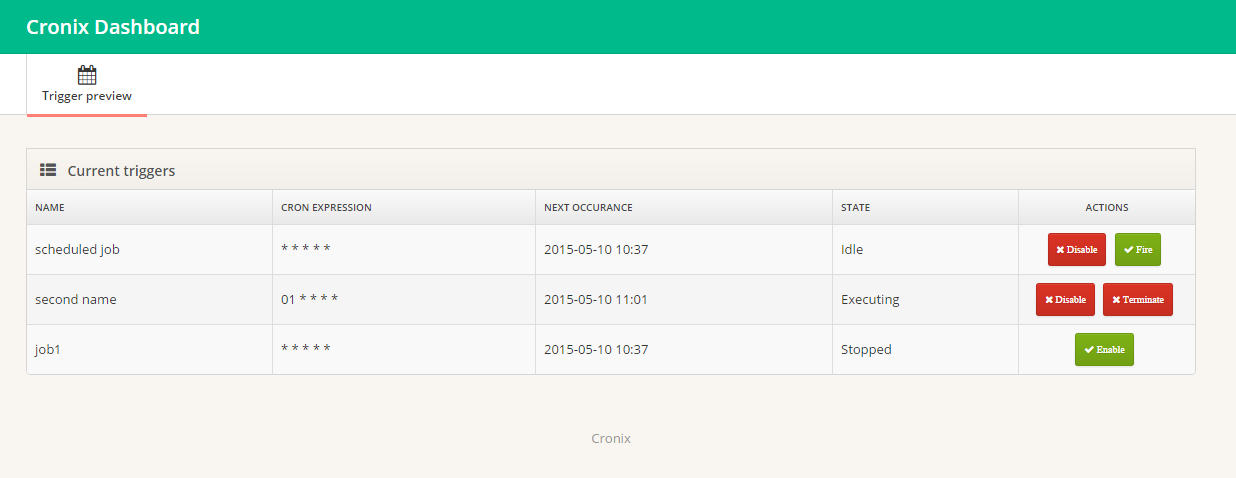
In order to enable webui, the Cronix.Web package must be installed and the WebPlugin must be initialized while bootstraping (as on snippet bellow).
F# Sample
1: 2: 3: 4: 5: 6: 7: 8: 9: 10: 11: 12: 13: 14: 15: 16: 17: |
open System open Cronix open Chessie.ErrorHandling open System.Threading open Cronix.Web [<EntryPoint>] let main argv = let startupHandler = new StartupHandler( fun(scheduler) -> WebPlugin.InitPlugin(scheduler) |> ignore ) BootStrapper.InitService(argv, startupHandler) |> ignore 0 // return an integer exit code |
C# Sample
1: 2: 3: 4: 5: 6: 7: |
public static void Main(string[] args) { BootStrapper.InitService(args, scheduler => { WebPlugin.InitPlugin(scheduler); }); } |
Job scheduling
- Build-in schedules
A Build in schedule is a hardcoded schedule definition that will create a trigger for a job at each Cronix application startup. Even if that trigger will be uncheduled, it will reschedule again after restart of your application.
C# Sample - build-in schedule:
1: 2: 3: 4: 5: 6: 7: 8: |
public static void Main(string[] args) { BootStrapper.InitService(args, scheduler => { scheduler.ScheduleJob("scheduled job", "* * * * *", EmbededJobs.Callback); scheduler.ScheduleJob("scheduled job", Dsl.frequency(Dsl.CronExpr.Daily), EmbededJobs.Callback); }); } |
- StartupScript
Having a startup script gives the ability to add custom jobs to your application without need od recompilation of your Cronix project. Custom dll's can be referenced, and the new schedule definitions can be freely modified. The Startup.fsx file must be placed in your Cronix project (it must have 'Copy to build directory' property set to True). It must follow the namespace, module and start method convention.
Sample startup script:
1: 2: 3: 4: 5: 6: 7: 8: 9: 10: 11: 12: 13: 14: 15: 16: 17: 18: 19: 20: 21: 22: 23: 24: 25: 26: |
#if INTERACTIVE #I "." #I "bin\Debug" #I "bin\Release" #r "Cronix.dll" #r "Chessie.dll" #endif namespace Cronix.Startup module RunAtStartup = open System.Threading open System open Cronix /// sample job let sampleJob (token : CancellationToken) = printf "callback executed at (UTC) %s\n" <| DateTime.UtcNow.ToString() Thread.Sleep 100 let start (scheduler : IScheduleManager) = // schedules goes here! scheduler.ScheduleJob "job1" "* * * * *" <| JobCallback(sampleJob) |> ignore () |
Windows service
In order to see what are the availiable command line options, run your Cronix application in the command line without any parameters. The sample usage will be shown as in sample bellow.
C:\>YourCronixApp.exe
Usage:
YourCronixApp debug
    - Starts 'YourCronixApp' in the interactive mode.
YourCronixApp install
    - Installs 'YourCronixApp' as a Windows service.
YourCronixApp uninstall
    - Uninstalls 'YourCronixApp' as a Windows service.
